
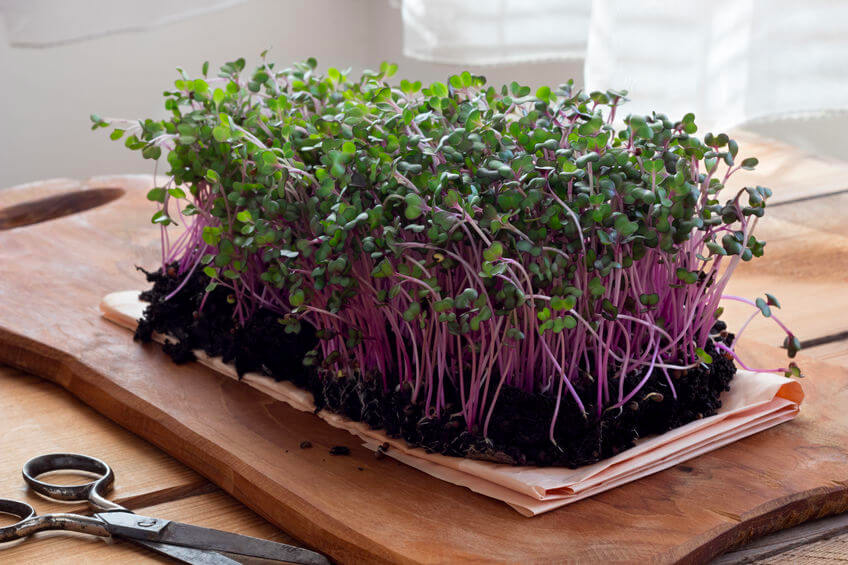
Microgreens are the first leaves that appear from herb or vegetable seedlings, which is usually within two weeks after first planting. Being very young greens, they grow till about 3-inches before being ready to cut and harvest. If you leave the microgreens to grow, they will turn into a fully-grown plant.
The nutrient content will vary, depending on which seeds you plant but usually they contain a generous serving of vitamins and nutrients, and in all cases, microgreens will have a higher nutritional value than the adult plants.
Generally, Microgreens are used as “food confetti”, which means they are mostly used to decorate soups or salads. However, they are more than just décor. Microgreens boast ridiculously strong aromatic flavor, and are packed with nutritional value. Most microgreens are a great source of potassium, iron, magnesium, zinc and copper, and they tend to be rich in antioxidants and other beneficial plant compounds. In other words, they are a nutritional powerhouse!
And the best part? They are very easy to grow! Let’s look into the fine details of choosing and growing your own assortment of microgreens…
Growing Microgreens Indoors
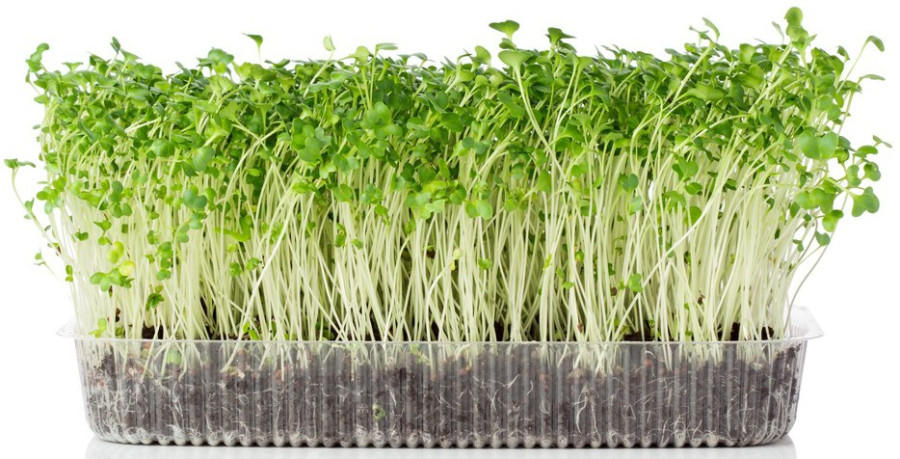
You can get started by either purchasing microgreen grow kit (you feel like skipping the hassle) or create your own. Between us, making your own microgreen kit is a very simple task! All you need is an old food container like a disposable pie plate or takeaway carton, some soil, and seeds of your choice.
The most popular Microgreens for growing include Rocket (Arugula), Coriander (Cilantro), Beetroot leaves, Radish greens, Watercress, Peas, Spinach, and Lettuce.
Once you have the seeds, soil, container and a pair of gloves, follow these simple steps to create your own microgreen garden!
- Clean out the container to get rid of any food remnants.
- Poke out a few drainage holes in the bottom and put the container on top of a tray.
- Fill the container with healthy soil from your garden or local plant nursery. Alternatively, you choose to go with a seed-starting mix for the best sterile soil that’s weed-free.
- Scatter some seeds over the soil and push them down according to the depth indicated on the seed packet.
- Ensure the seeds are covered and use a spray bottle to moisten the soil.
- Place the container on a windowsill or area that will receive good sunlight throughout the day.
- Keep your eye on the container to make sure the soil doesn’t dry out; it will need a good spray at least once a day. You can also place a cover that will provide enough height for the growing leaves to give a greenhouse effect.
Growing Microgreens Outdoors
It is possible to grow Microgreens outside in your garden, however, you must consider if your climate is warm enough during the day and overnight. Another important aspect is using good soil that is free from weeds.
You won’t need to add any fertilizer. Simply plant the seeds in a small area and keep the soil damp. Do not overwater!
Harvesting Your Microgreens
After a few days, you will notice your seeds germinating as the tiny stalks and leaves appear. Wait until they are about 3 inches in length before snipping the greens off (including the stalk).
Simply wash the microgreens and serve up as a side dish with any meal, or add to your sandwiches, salads, and soups. Enjoy your harvest!