Starting Seeds Indoors: A Beginner’s Guide That Avoids Leggy Plants
Plan indoor seed starting around the crop, light and transplanting conditions. Learn how containers, moisture and gradual hardening off affect seedlings.
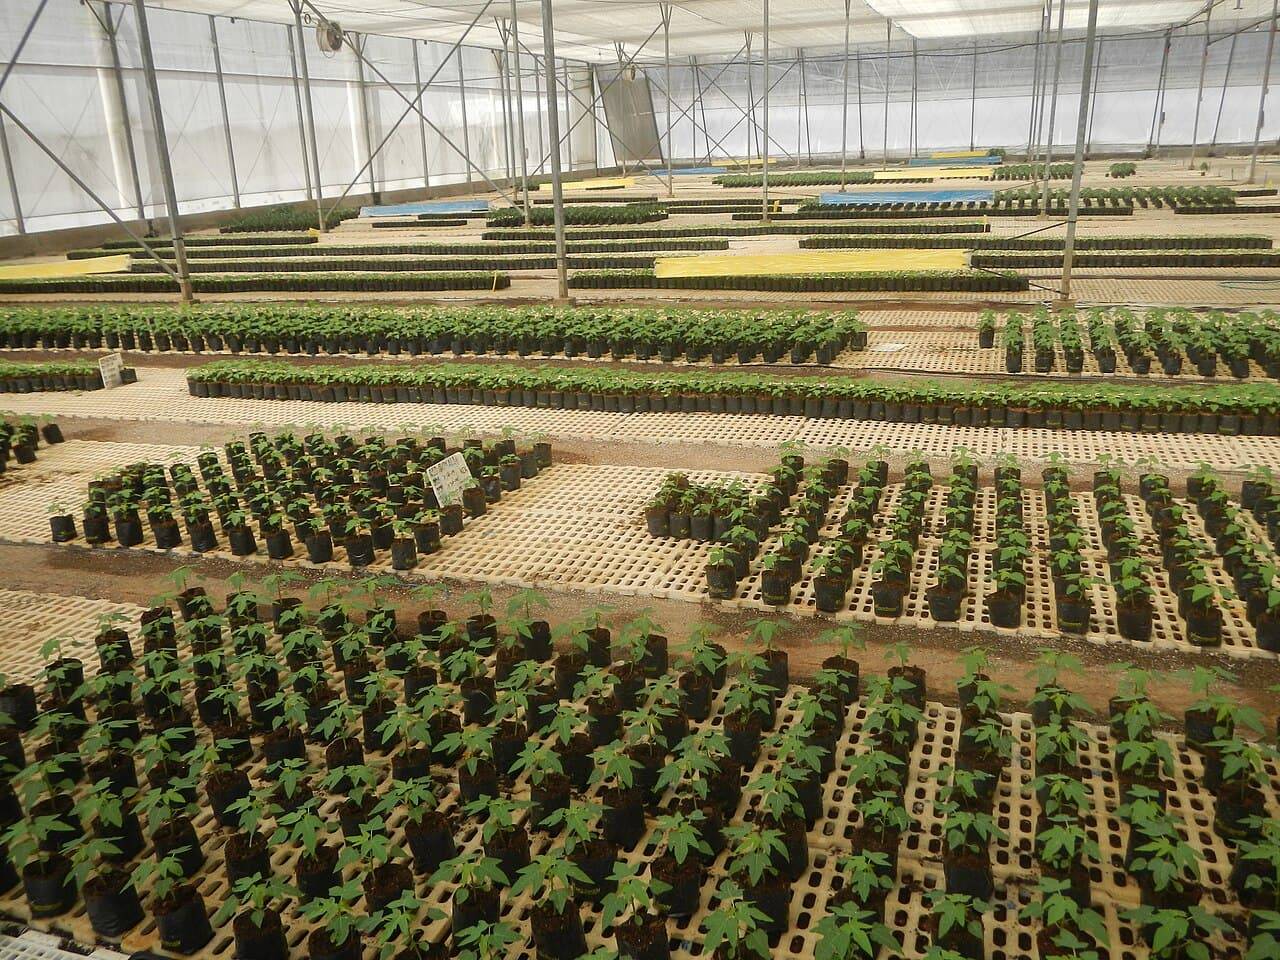
Starting seeds indoors gives you a chance to watch a plant develop from the beginning, but starting earlier is not automatically better. A seedling needs enough light, appropriate moisture and somewhere suitable to go when it is ready. The most useful plan works backward from transplanting conditions and the seed packet, rather than choosing a date because a tray of seeds feels like the start of spring.
Choose crops that fit indoor starting
Some plants respond well to being raised as seedlings and moved later. Others are easier to sow where they will grow or need containers that minimize root disturbance. Read the packet for the crop and variety before buying a large tray. Check how long it is expected to grow indoors and what conditions it needs after germination.
Begin with a manageable number. A crowded collection of many varieties can become difficult to label, light and water consistently. A smaller batch gives you room to observe differences and learn from them. Keep a few notes about sowing dates and germination rather than relying on memory once every tray looks green.
Work backward from local conditions
Transplanting depends on the plant's tolerance of cold, soil conditions and local weather. A planting calendar written for Minnesota, for example, is useful in its context but should not be copied unchanged into a different climate. Use the timing guidance on the packet alongside information relevant to your location.
Do not plan to move tender seedlings outside just because they have reached an attractive size. If the outdoor conditions are unsuitable, they may need more space and continued indoor care. Thinking about that possibility before sowing prevents a tray from becoming a collection of oversized plants with nowhere appropriate to go.
Use clean containers with drainage
Choose seed-starting cells or small pots that allow excess water to escape. Reused equipment should be cleaned appropriately before planting. A tray beneath the cells can make watering and handling easier, but check that it does not leave the containers sitting in water unintentionally. Keep labels readable and attached to the correct tray.
Use a suitable seed-starting medium rather than assuming ordinary garden soil will behave well in a small indoor cell. The medium needs to support tiny roots while balancing moisture and air. Fill and moisten it according to the product directions, avoiding large dry pockets and unnecessary compaction.
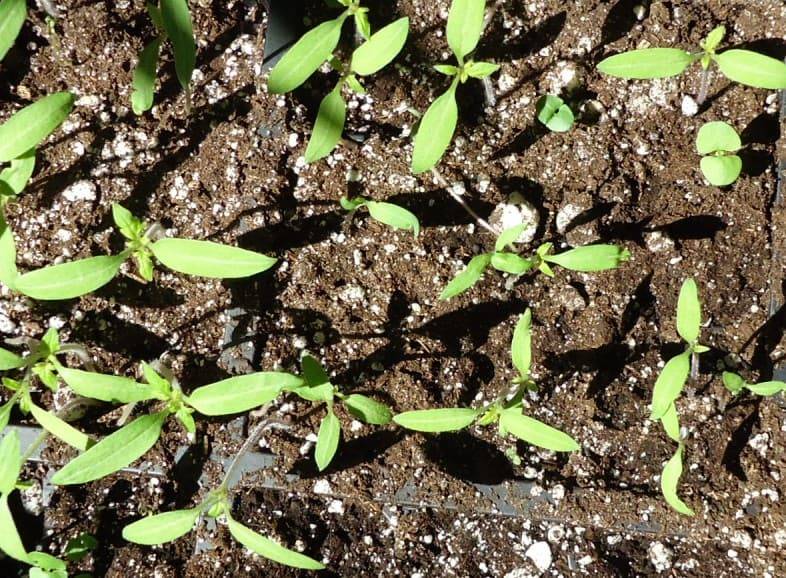
Sow at the recommended depth
Seed size does not give you every answer about planting depth or light requirements. Follow the packet for the crop, and do not bury every seed under the same generous layer of mix. Label immediately after sowing so that the identity does not depend on remembering which end of the tray you started from.
Water gently enough that seeds stay where you placed them. A strong stream can wash small seeds into a corner or expose them. If you use a cover to maintain humidity during germination, monitor the tray and remove or adjust it as the seedlings emerge according to the growing guidance. A cover is a temporary tool, not a permanent substitute for observation.
Give emerged seedlings useful light
A seedling that stretches into a thin, leaning stem may be responding to inadequate light. A bright-looking room is not the same as an effective seedling setup. Where a growing light is used, follow its instructions for placement and operation. The correct distance can vary considerably between equipment types, so avoid treating one old lamp measurement as universal.
Arrange the tray so plants receive reasonably even light and have space as they grow. If multiple seeds germinate in one cell, thin according to the crop guidance rather than leaving a tight bundle to compete indefinitely. Handle the selected seedlings carefully and avoid unnecessary disturbance to their roots.
Keep moisture even without making the mix soggy
Check the medium frequently because small cells can dry quickly. Water needs change as seedlings develop, temperatures shift and covers are removed. Aim for an appropriate moist environment rather than a tray that is alternately saturated and completely dry. Drainage holes help, but they do not make repeated overwatering harmless.
Avoid interpreting every weak seedling as a fertilizer problem. Check light, moisture, temperature and crowding first. Use a suitable feeding plan when the crop and growing medium call for it, following product directions. More fertilizer is not a reliable way to strengthen a seedling struggling in poor conditions.
Prepare gradually for life outdoors
Indoor-grown seedlings need a transition to wind, changing temperatures and stronger outdoor light. Harden them off gradually using guidance appropriate to the crop, beginning with protected conditions rather than a full exposed day. Bring them back into suitable shelter when the weather requires it. The transition is part of growing the plant, not an optional final detail.
Before transplanting, water and prepare the destination appropriately. Handle seedlings by methods that protect their fragile stems and roots. A good start is a healthy, manageable plant moving into a suitable environment. It is not simply the earliest possible seedling or the largest plant you can fit under a lamp.